All About Seed Starts
Starting plants inside can help you get a jump on the season
Spring is nearly here!
This is the time of year when we gardeners start thinking about our gardens and perhaps starting a few plants inside to get a jump in the season. If you do decide to start some plants inside, there are a few things to consider as you do this which will help you have a greater degree of success with this project.
Seed Selection
It is always best to start with good quality seeds from a reliable supplier. There are many seed companies to choose from, but if you have a choice, purchase seeds from PNW growers, as these plants will be better adapted to the climate in Washington. If you saved your own seeds from last year’s crop you can try sowing these as well. However, you may not end up with the plants you expected if the seeds you saved were from a hybrid variety or if they were cross-pollinated. If you have seeds leftover from previous years you can use those as well but realize that seed viability goes down with each successive year. If you use seeds that are more than a year old, you will need to plant more of them to make up for poor germination.
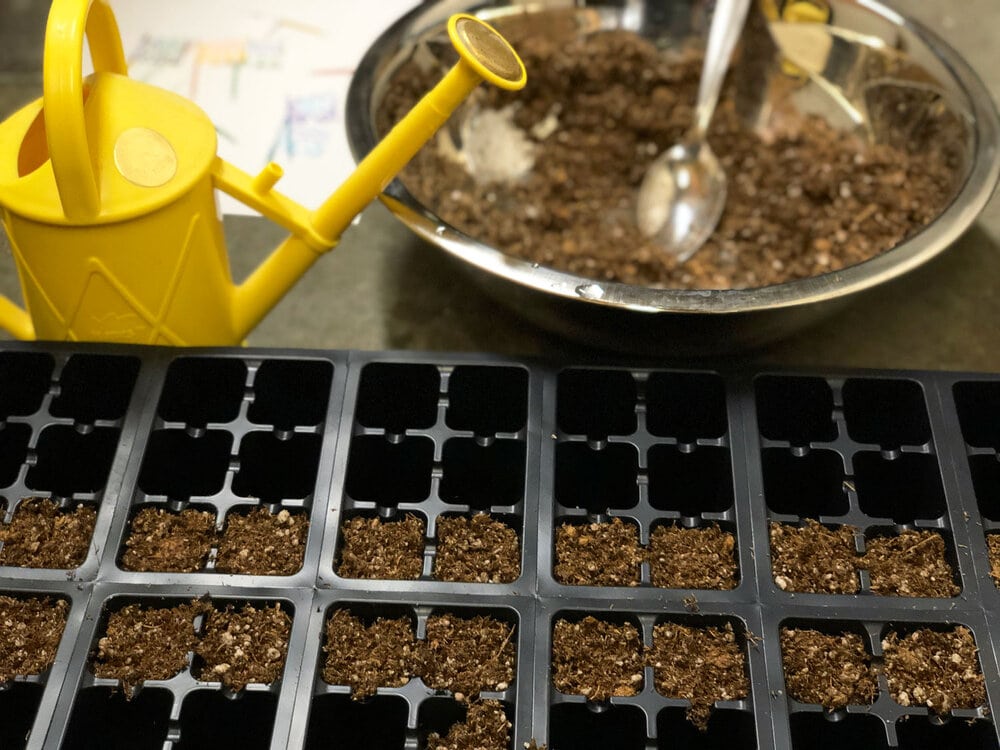
Starting Media
A good seed starting medium should be fine, uniform, well aerated, and loosely packed. It also needs to be free of insects, disease organisms, and weed seeds. For best results, choose a soil-less seed starting mix composed of peat moss, fine-grade vermiculite or perlite. Reusing old potting soil is not recommended because it may be contaminated with diseases. You can make your own potting medium as follows: 4 quarts of shredded peat moss, 4 quarts of fine-grade vermiculite, and 2 Tbsp. of ground limestone. These mixes have no fertility, so the seedlings need to be watered with a dilute fertilizer as the first true leaves appear.
Water
Seedlings need a steady supply of water and are best watered from the bottom. Too much water will reduce the oxygen that is available to the plant, so do keep the media moist, but not water-logged.
A spray bottle/mister is perfect for keeping the soil damp but not soggy while you wait for your plants to germinate and also while the seedlings are tiny. Once they’ve grown a bit, you can begin to water with a watering can that has a rain nozzle so the water is gently dispersed and doesn’t flatten your seedlings or you can also water from the bottom if you use plastic cells. Just fill the solid tray underneath your containers with an inch or two of water, which will be absorbed by the soil, keeping the seedlings safe from floods.
I recommend filling a large watering can or bottle with tap water and letting it sit for a few hours to a day to warm to room temperature. Seedlings aren’t much for cold showers!
Light
Certain seeds need light to germinate, and if so, it should be stated on the package. Some seeds, like lettuce, need light to germinate, so plant them uncovered or lightly cover them with a sprinkling of seed starting media. Other seeds require darkness to germinate and should be covered. Seedlings that do not get enough light tend to develop long, weak stems as they reach for the light. Once your seeds have sprouted, they will need supplemental lighting to prevent them from getting “leggy”. Sadly, our PNW winters don’t offer enough light to help a seedling grow big and strong (yes, even in a south-facing window. It’s all those clouds). You can use T12 or T8 fluorescents but T5 high output fluorescent lights or LED grow lights are more efficient. The nice thing about LED lights is that they offer the same strength of light until they burn out. With fluorescents, the strength can wane as they age, so it’s recommended to change them every 12 months, even if they haven’t completely burnt out. Get fancy with red/blue spectrums or, if you don’t want your home to look like a nightclub, stick to all-spectrum white, which will work just as well.
Position the lights about 2-3 inches over the seedlings and adjust them to keep them at this distance as the plants grow. A chain on hooks makes it easy to adjust the height of the lights. If your light source is fixed, you can just adjust the height of the trays. Turn the lights on after your seeds have germinated (the exception is lettuce, which needs light to germinate). Seedlings like 12-16 hours of light per day. A timer makes it easy; no remembering to turn the lights on and off.
Temperature
Most seeds germinate between 65-75 degrees F. If the ambient temperature in your home is lower than this, heating mats placed beneath your seedlings can elevate the temperature of the growing medium and encourage germination. A heat mat can also help speed up germination and keep fungus from growing. You can remove the heat mat when your seeds have germinated.
Timing
One of the biggest problems people have with starting seedlings is timing. Starting seeds too early often results in poor quality plants that fail to thrive even when transplanted into the garden. Deciding when to plant your seeds should be based upon when they can be safely transplanted outdoors. It’s always advisable to check your seed packet for exact timing and to see whether it is recommended to sow that particular seed indoors or directly into the garden. Crops like lettuce, arugula, and spinach can be sown outside by early March. Beets, radishes, and carrots are generally sown directly outside rather than indoors because they dislike being transplanted.
